CoD WW2 Zombies Guide - Blitz Upgrade Locations, Best Weapons for Zombies, Mystery Box Locations, How to Find Dr. Straub, How to get the Tesla Gun
Nazi Zombies are back in CoD WW2, and we've got all the tips and tricks you need to make it to the highest round possible, including all the Blitz Upgrade Locations, the best weapons, and how to build the Tesla Gun.

Nazi Zombies is back in CoD WW2, and is taking a slightly more story-driven approach this time round. In this CoD WW2 Nazi Zombies guide, we'll be walking you through all the basics you need to know before taking on the mode, including the best CoD WW2 Zombies weapons, all the Zombies Blitz upgrade locations, and how you can go about making it to the higher waves of the game.
If you should instead need anything else covering on the multiplayer side of Call of Duty: WW2, including every Divisions class in the game, as well as all the best weapons to use on each map, make sure to check out our Call of Duty: WW2 mulitplayer guide.
CoD WW2 Zombies Guide
Firstly, unlike previous iterations of the Nazi Zombies mode in Call of Duty, you'll be presented with a unique prologue mission. While this prologue mission for CoD WW2 Nazi Zombies is actually optional, we'd highly recommend undertaking it, as it's a good way of getting back into the loop of the mode, especially if you haven't played it since last year's Infinite Warfare.
In the prologue, you'll take on the role of the doctor, as she makes her way through the local town after the entire group (including David Tennant and Elodie Yung, among others), are attacked by a massive zombie behemoth. While you won't face this giant beast in the prologue, all you have to do to pass is make it to the nearest building, and save up enough Jolt points to open the double doors at the back of the large building, making it to safety.

Jolts, in case you werent' aware, are the brand new form of currency in this iteration of Nazi Zombies. You earn the Jolts exclusively through killing each and every zombie, and as we previously mentioned, you can save the Jolts up and then spend them in-game to unlock things like new areas of the map. On top of this, you can also spend your Jolts in the prologue mission to unlock a sub-machine gun, armor, and an automatic revive, all of which we'd highly recommend you unlock before fousing on the 2,500 Jolts required to open the door at the back of the house and escape to victory.
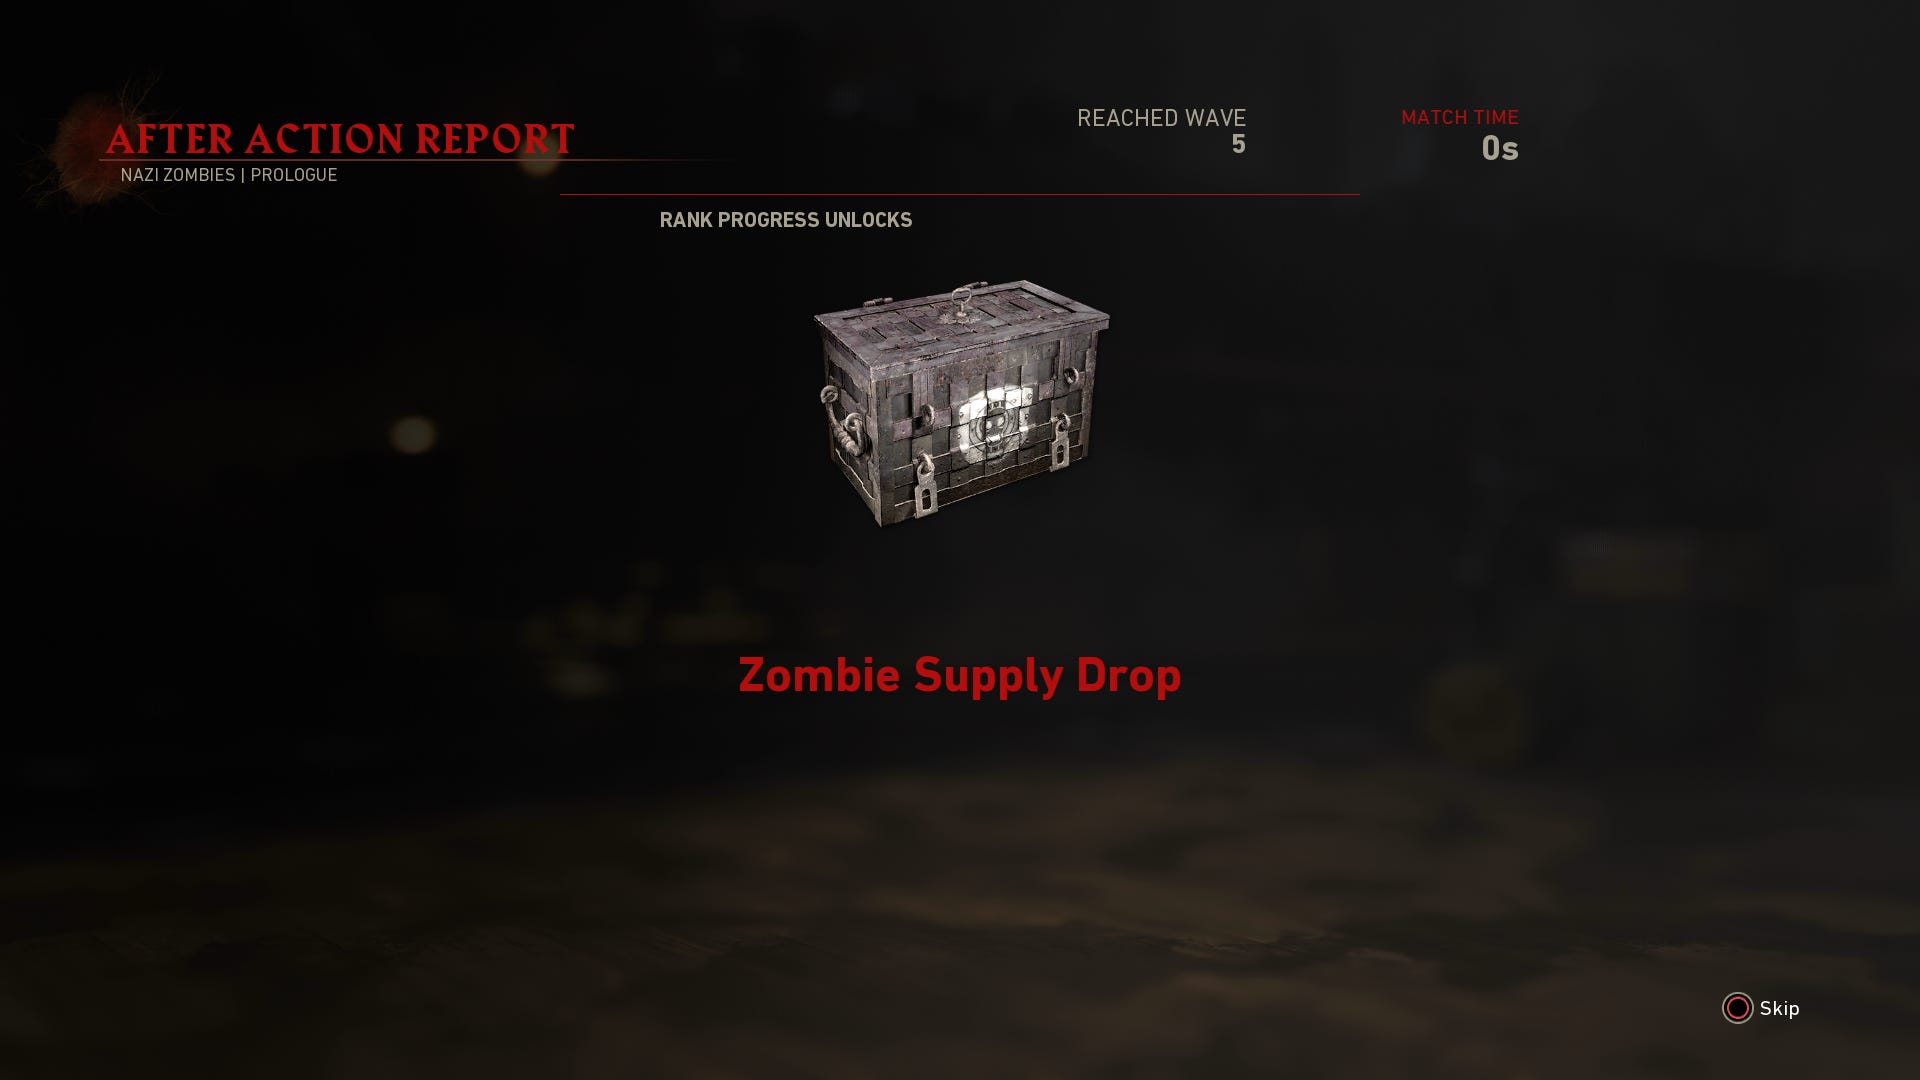
After the Nazi Zombies prologue has been completed, you'll be greeted with the after action report, where Call of Duty: WW2 will tally up all your kills, headshots, and other achievements in the single game of Nazi Zombies. If you've done well enough in the prologue, then you could be rewarded with a Nazi Zombies loot crate, a brand new box which will automatically grant you certain perks and bonuses for you to take into your next game of Nazi Zombies.
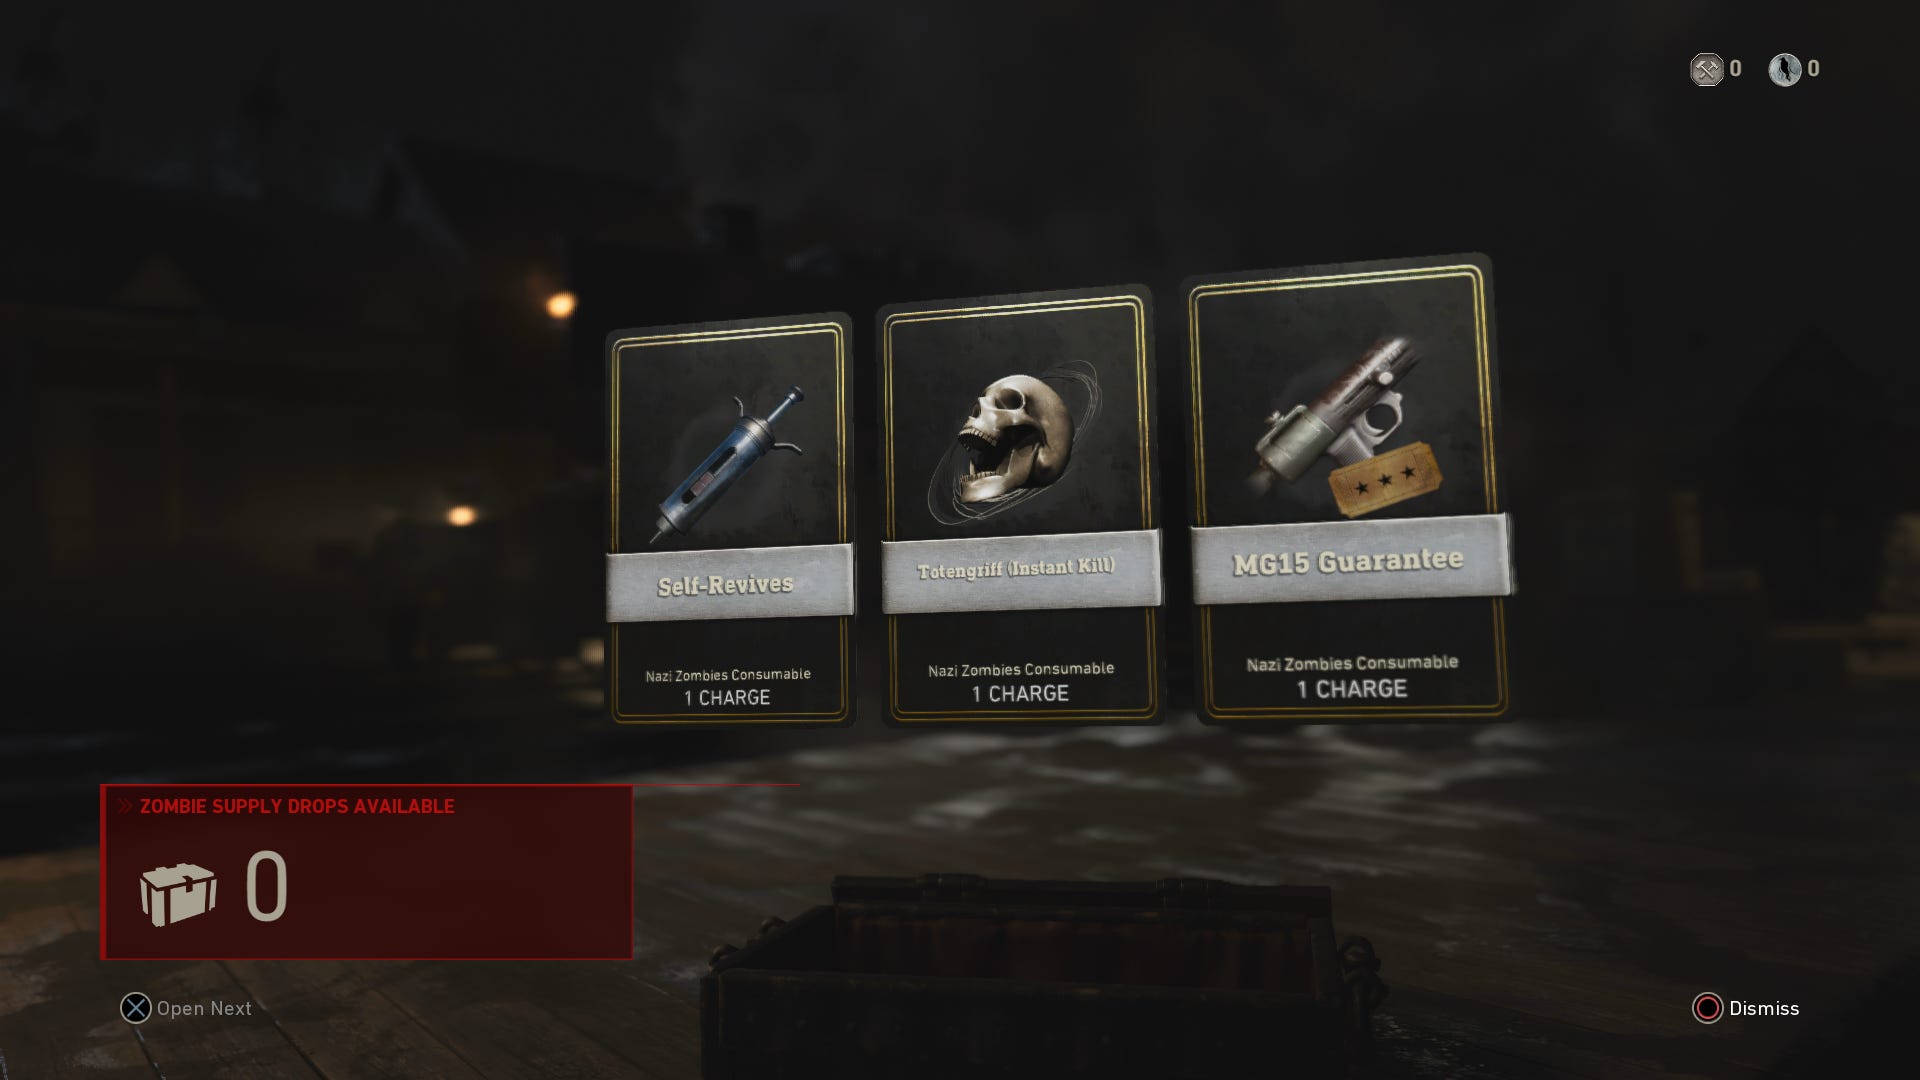
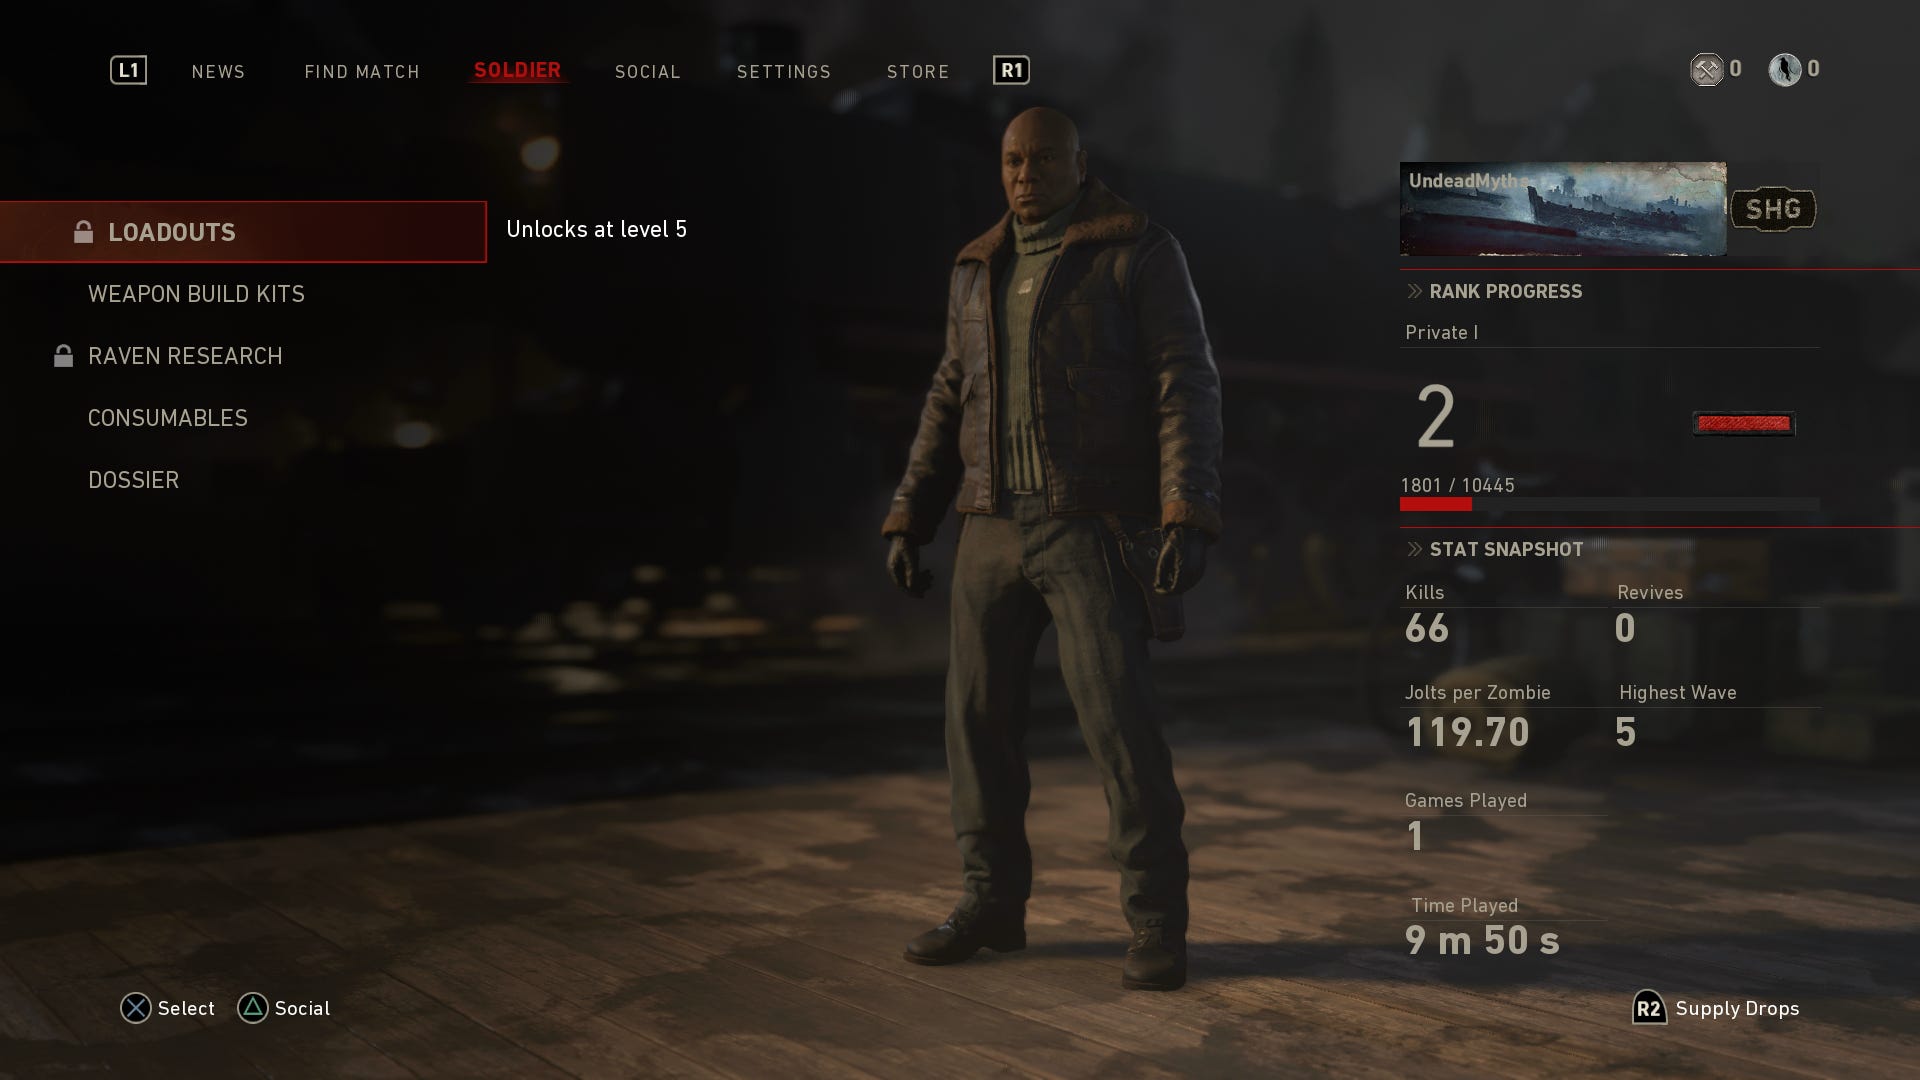
To equip any perks and bonuses to your Nazi Zombies character, head over to the Soldier tab, where you'll be met by the screen just below. Head down to the Consumables section, and you'll be able to see how many Self-Revives you've got left in stock to take into the next game, as well as the two optional bonus items you can equip to your character on the up and down buttons on the D-pad.
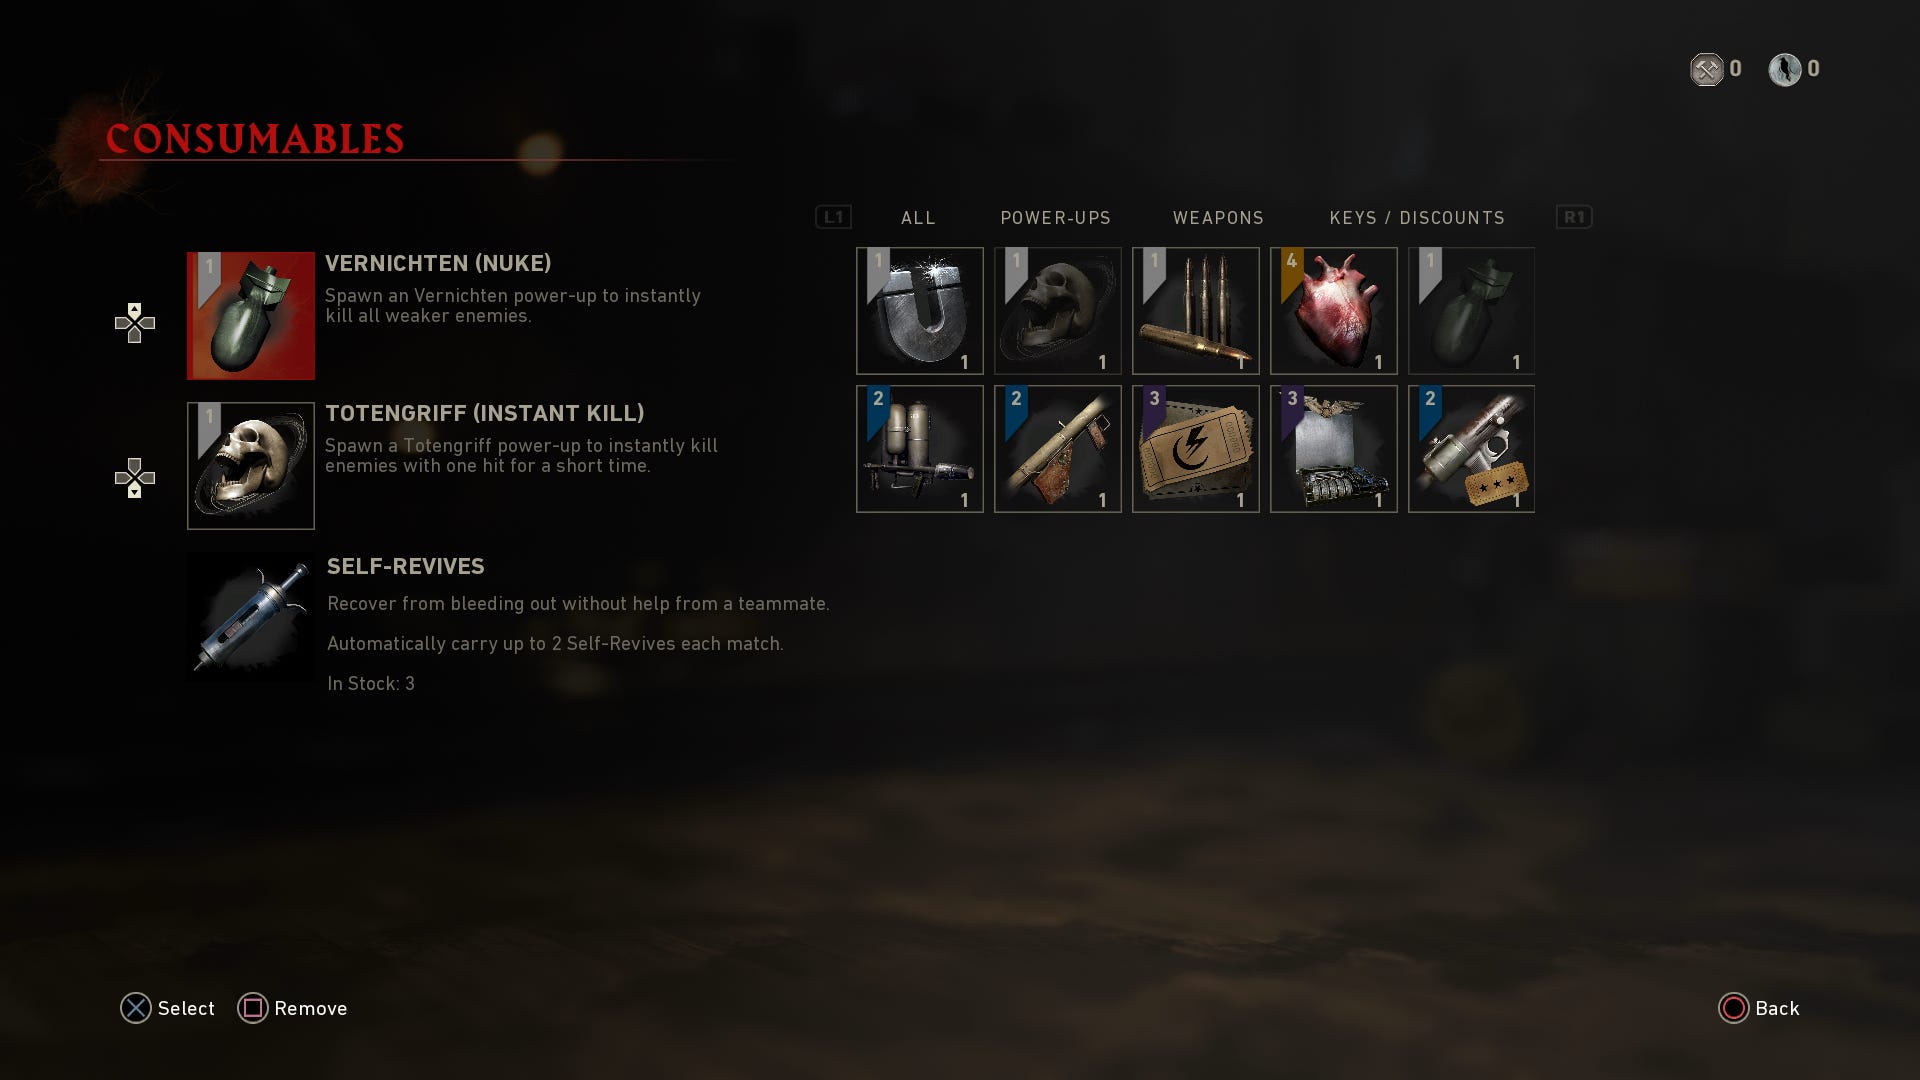
CoD WW2 Zombies Consumable Perk Items
There are a litany of optional items you can equip, and we've listed all the possible ones we've found so far just below, as well as their effect. Note that to check how many uses of the item you have left, look at the number next to the item.
- Elektromagnet - You'll earn double Jolt points for a short amount of time.
- Totengriff - This insta-kill perk does exactly what it says on the tin, as you can kill any zombie with a single bullet for a short amount of time.
- Taschen Voll - This is a max ammo perk, which replenishes all ammo and equipment items for all players.
- Uberladen - Using this, you can fully charge up every player's special ability meter, even overcharging their unique abilities.
- Vernichten - This is the nuke ability, which instantly kills all weaker enemies currently on the map.
- Flamethrower - Grants the player a flamethrower for a short amount of time.
- Bazooka - Using this, you can equip the M1 Bazooka for a short amount of time.
- Refund Coupon - Provides a 25% refund on any item purchased with Jolts.
- Blitz Machine Coupon - Gives you a 50% discount on any blitz machine items purchased.
- MG15 Guarantee - This perk guarantees that you'll recieve the MG15, the next time you use the item mystery box.
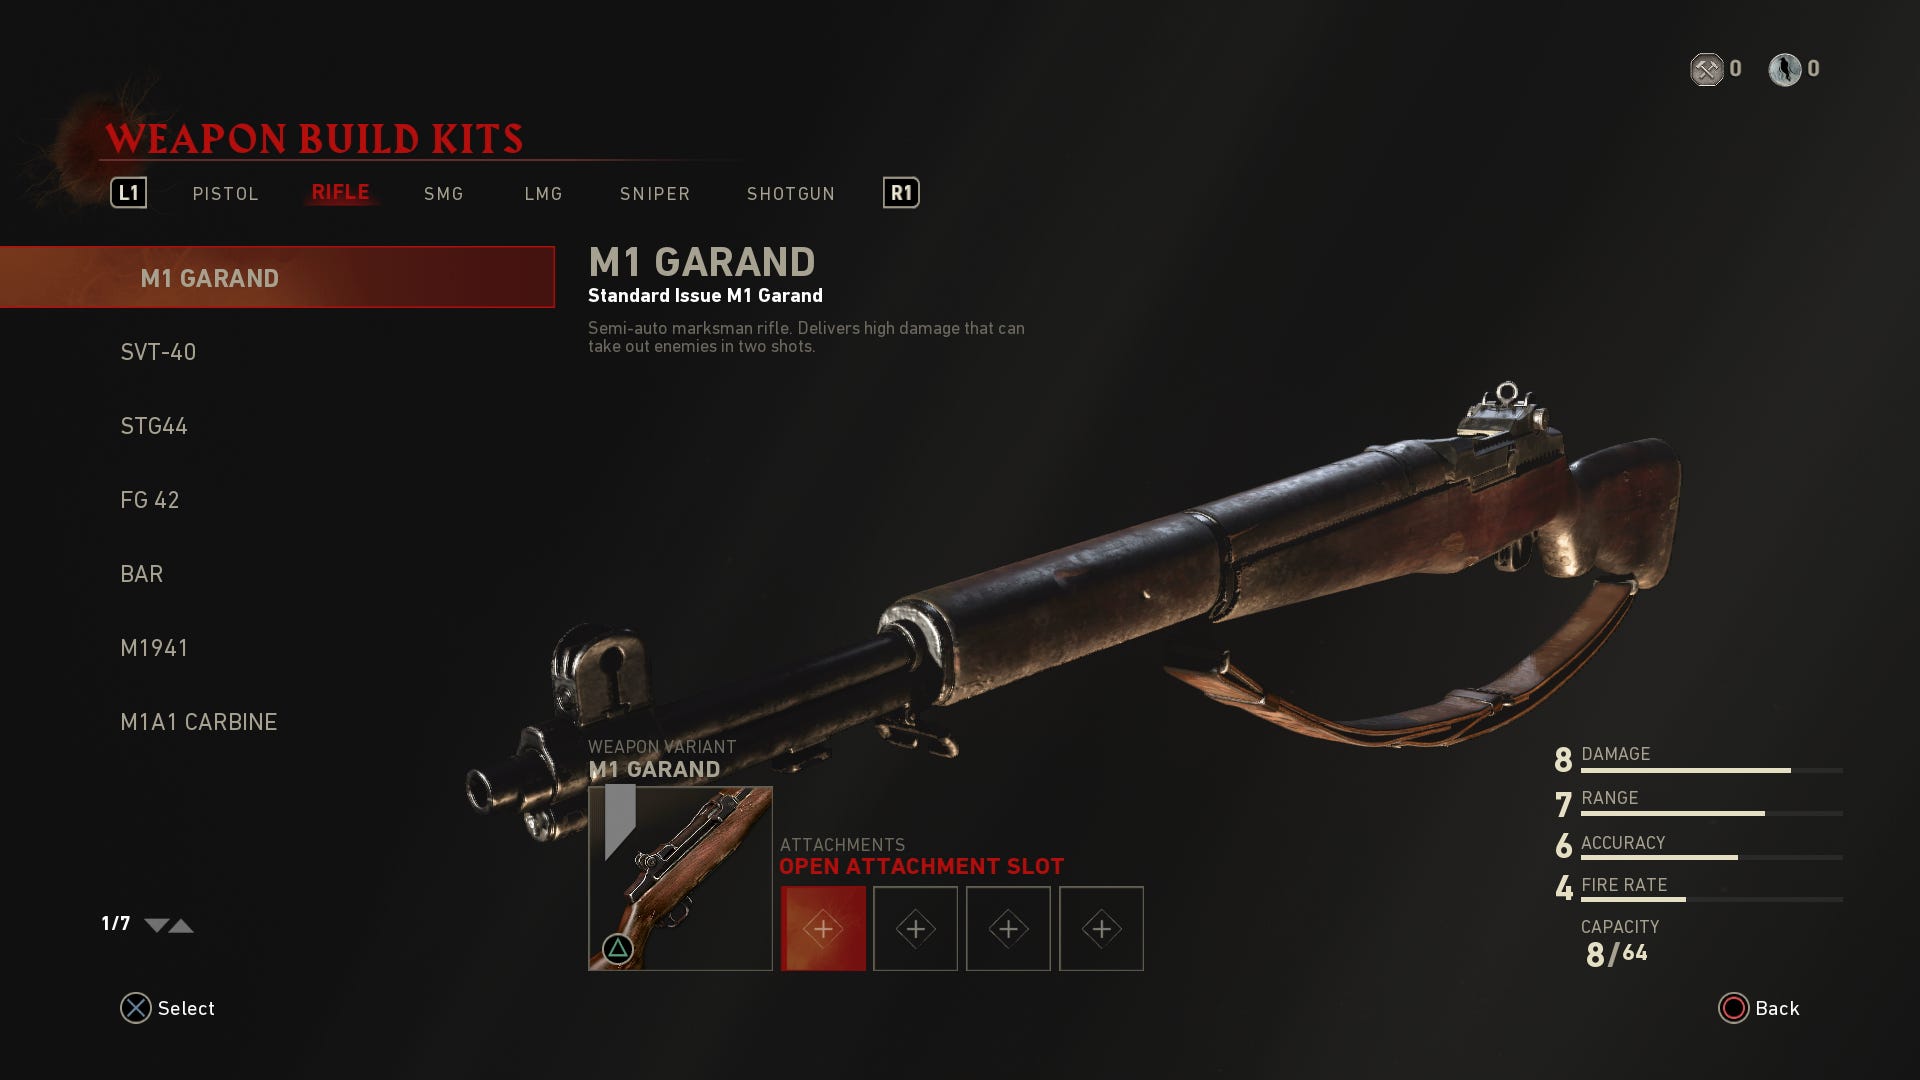
Also in the Soldier section of the CoD WW2 Nazi Zombies menu, you can customise every weapon in the game, for whenever you acquire them while playing. You'll acquire any weapon items whenever you level up in Nazi Zombies, and these items come in the form of weapon attachments, including scopes, grips, and magazines.
As we previously mentioned, all these weapon attachment items aren't earned through the Nazi Zombies loot crates, but are instead aren't via your overall level. Therefore, if you want to earn a new scope, or magazine for your favorite weapon, all you need do to is hop into a game of Nazi Zombies, and get as many kills as possible to maximise your XP.
CoD WW2 Zombies Blitz Upgrades
In this iteration of Nazi Zombies, the powerups are now called 'Blitzes', and you can purchase them at various points around the map to enhance your character. Bear in mind that you can only have four Blitzes equipped at once, and should you purchase any more often buying your four, the Blitz that you purchased first will be knocked off in order to make way for the new one.
CoD WW2 Zombies Map Guide
Just below, you can find the complete list of Blitzes in CoD WW2 Nazi Zombies, as well as how many Jolts each one costs, on top of their location:
- Lebenblitz - Found at the beginning area, this Blitz costs 500 Jolts, and increases your revive speed.
- Laufenblitz - This can be found in the area where you jump down into the Sewers. It costs 2,000 Jolts, and increases your sprint speed, causing you to be able to run indefinitely.
- Faustblitz - This Blitz is found in the central command room, costs 2,000 Jolts, and increases your melee damage.
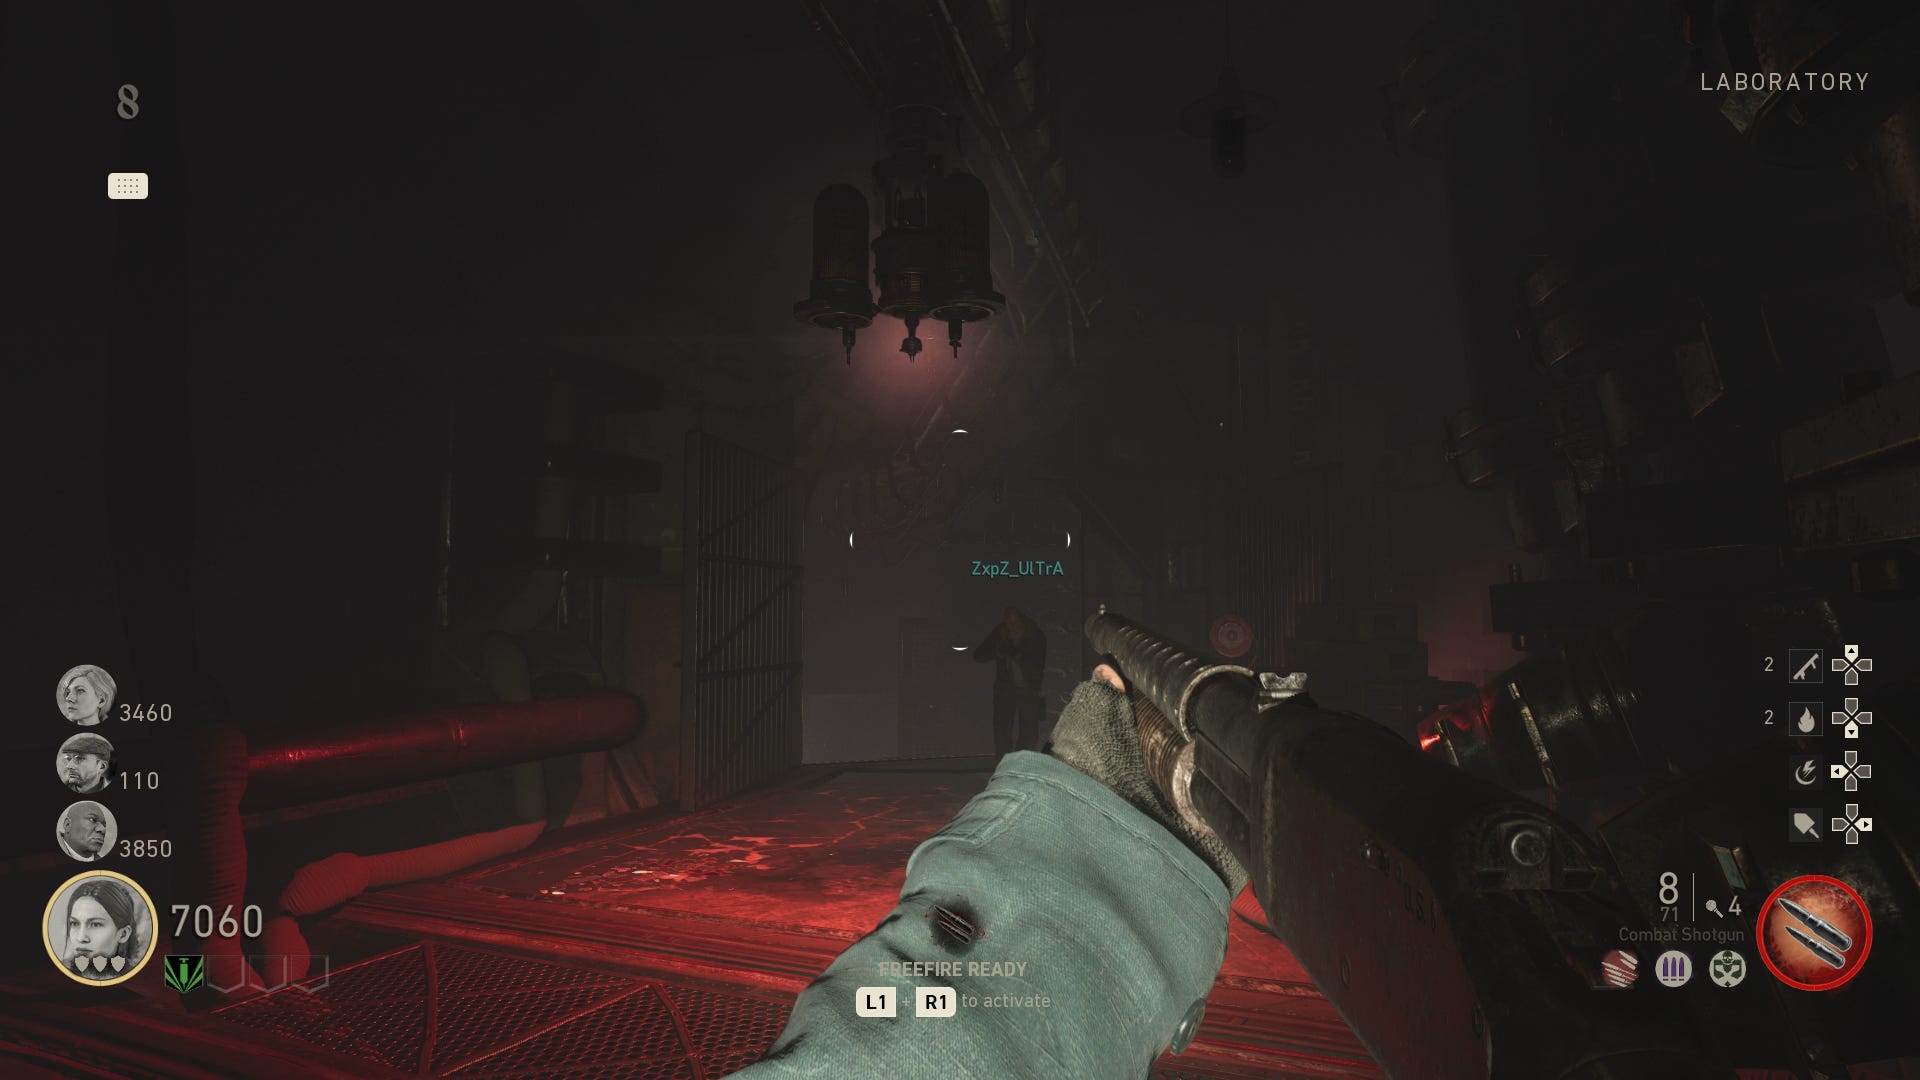
- Schnellblitz - Found in the laboratory for 3,000 Jolts, this Blitz increases your reload speed.
- Schildblitz - Also found in the laboratory area, but for a lesser cost of 2,000 Jolts, the Schildblitz will grant you a short electrical burst attack every time you reload.
- Kugelblitz - This blitz can be found in the pub near the tower area. It costs 2,000 Jolts, and it increases the damage of all your weapons.
CoD WW2 Zombies Pack-a-Punch Weapon Upgrade Station
Speaking of unlockable upgrades in CoD WW2 Nazi Zombies, you might want to get your hands on the Pack-a-Punch weapon upgrade station as quickly as possible in Nazi Zombies. It's basically essential if you want to combat the tougher zombies that start appearing in later rounds, and for all you need to know about the mysterious machine, head over to our Nazi Zombies Pack-a-Punch upgrade guide.
CoD WW2 Zombies Tips and Tricks
There's actually quite a few new elements of Nazi Zombies to get to grips with from the jump, and there are definitely features that weren't present in the Infinite Warfare version of the horde mode. We've put together some handy tips and tricks just below, for your first few times playing Nazi Zomies:
- Firstly, there's the notebook. Press the middle button on the Dualshock 4, or the back button on the Xbox One controller to view your current assignments.
- These assignments will help you uncover more powerful weapons for you to use, for example an assignment fairly late in the game of Nazi Zombies was to assemble the Tesla Gun.
- Near the beginning of the game, we'd recommend spending your Jolts on new weapons, rather than unlocking new areas. Although the Nazi Zombies generally get stronger as the rounds go on, the double barelled shotgun that you can purchase early on is lethal.
- If you ever run out of ammo on an equipped weapon, simply head back to the point in the map where you purchased the weapon, and purchase the ammo of the weapon for less Jolts.
- When you're in the lobby screen, you'll be presented with the option of which character to pick. Each playable character can activate their own exclusive ability once their Ability Meter is full, and we'd recommend playing each character at least once.
- Also in the lobby screen while you're selecting a character, you can open up any Nazi Zombies loot crates that you've already earned. These provide various bonus items like the ones mentioned above.
- A new feature is the self revive ability, and you can use these whenever you get downed. Bare in mind that you'll bleed out and die if you're in a downed state for too long, so we'd recommend using the self revive sooner rather than later.
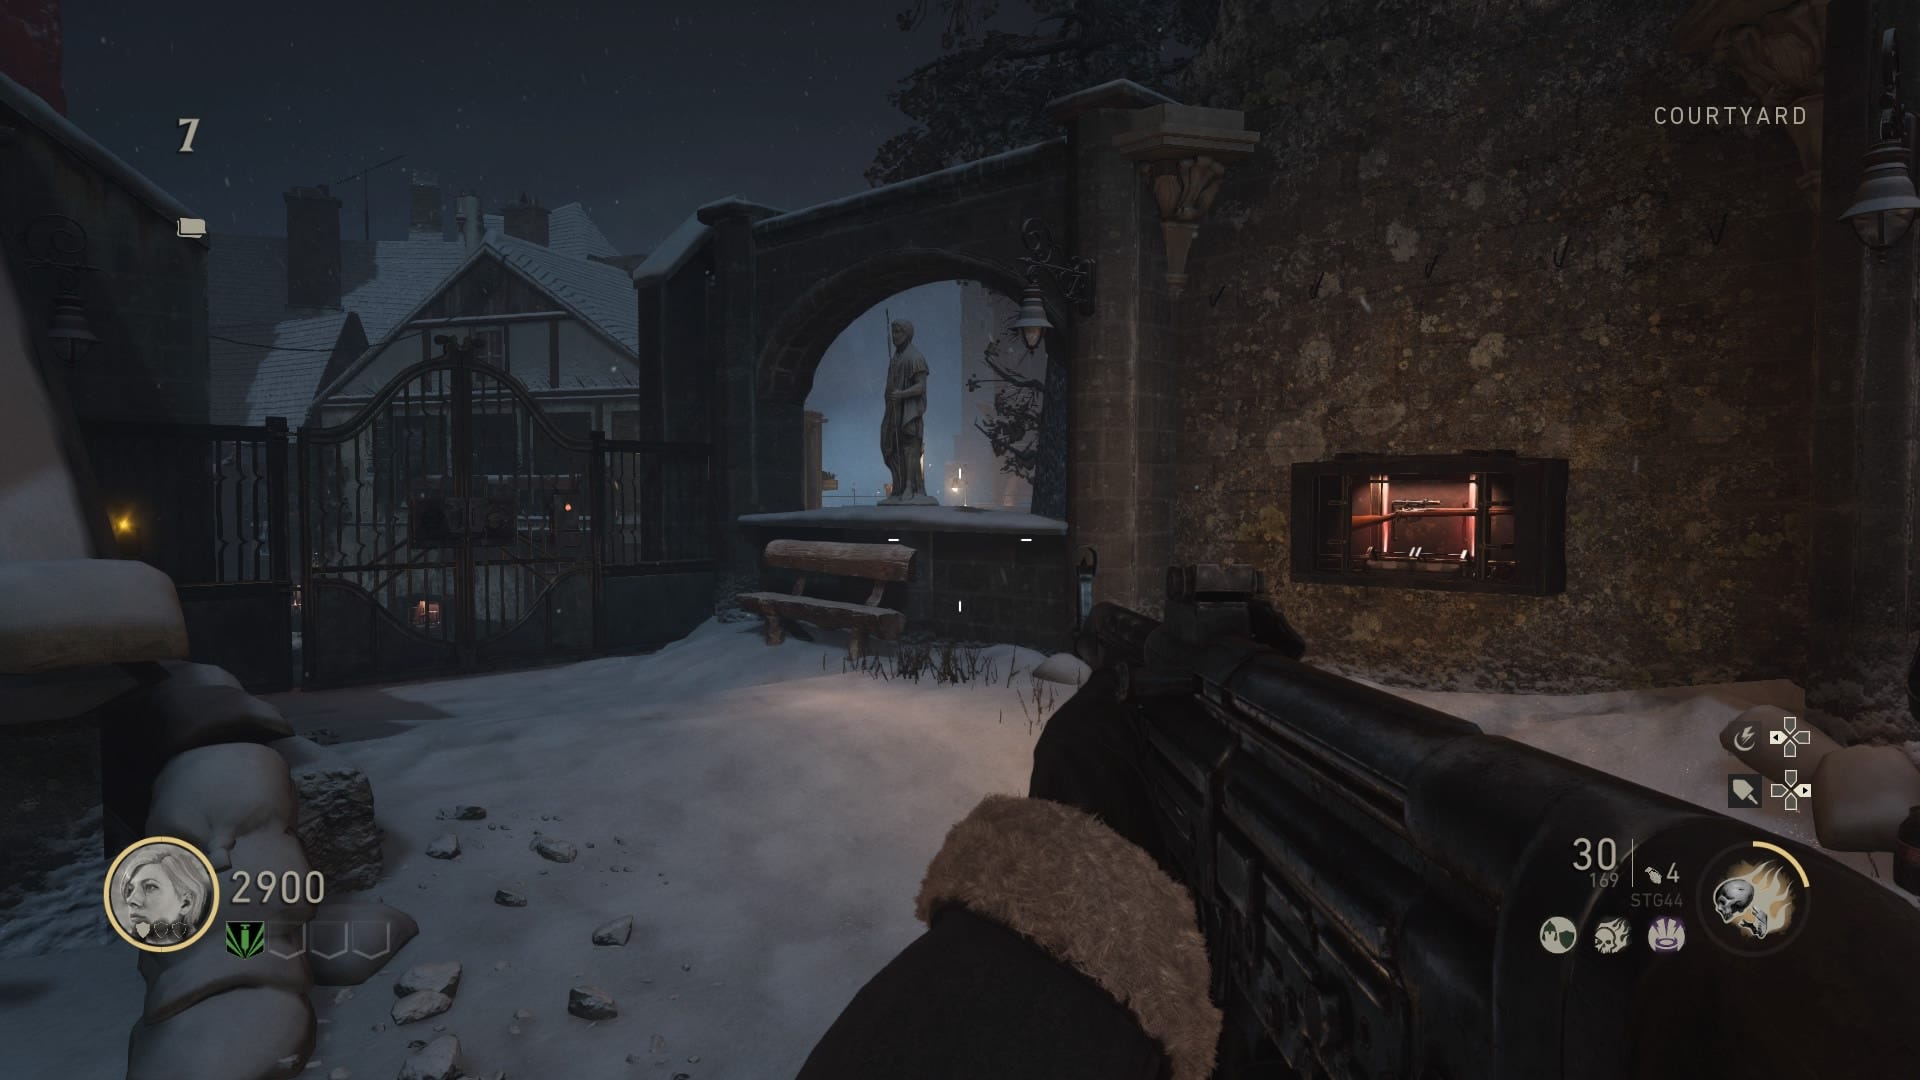
- The famous Mystery Box is back, and will cost 1,000 Jolts to use. In case you don't know what it is, the Mystery Box will grant you one random weapon, which you then have the option of taking, or leaving.
- Whenever the Insta-Kill pops up, make sure to use your melee weapons whenever possible, as this both saves you ammo, and rewards you with a bigger Jolts payout.
CoD WW2 Zombies Mystery Box Locations
The Mystery Box might be the most important item in Nazi Zombies, and has been present in every iteration of Nazi Zombies since the mode first debuted back in Call of Duty: World at War. The Mystery Box in the CoD WW2 version of Nazi Zombies costs 1,000 Jolts to use, and will grant the player a completely random weapon.
You first find the Mystery Box in the Command Room, straight ahead of you once you've first opened the Bunker door. At this point we'd strongly recommend you let everyone on your team use the Mystery Box once, and once only, because once you've used the unique crate four times, it'll vanish. The Mystery Box will now teleport to one of two locations on the map, which we've oulined just below:
- Near the Tower, on the small bridge that runs between the Tower and the pub.
- Up the stairs leading outside, from the central laboratory area.
These are either of the locations that the Mystery Box can appear in, after first vanishing from the Command Room. No matter which location it appears in, it'll then vanish a second time, to go to the alternate location listed above. The Mystery Box will vanish for a third time, but this time it'll be back where it started, in the Command Room.
The Command Room, near the tower, and outside the laboratory are the three total locations that the Mystery Box can appear in. If you're never sure where the Mystery Box is at any given time, all you have to do is narrow time the potential locations, through the good old fashioned process of elimination.
CoD WW2 Zombies Bosses
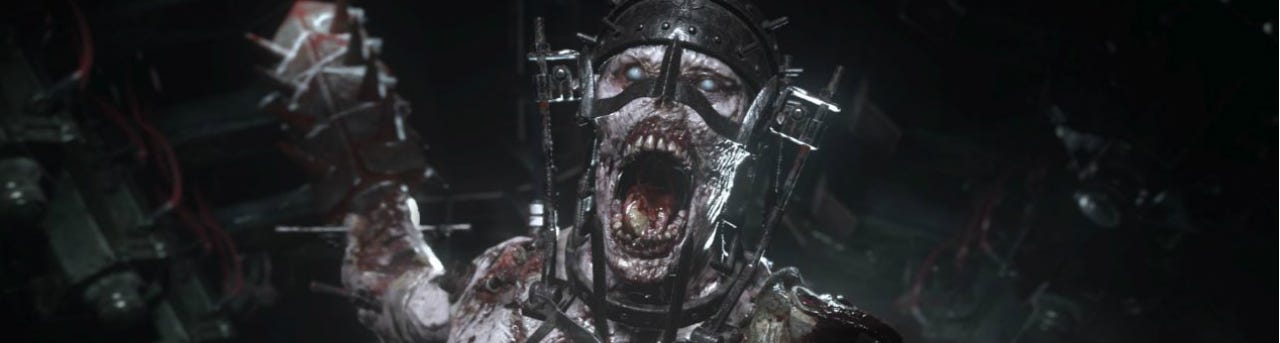
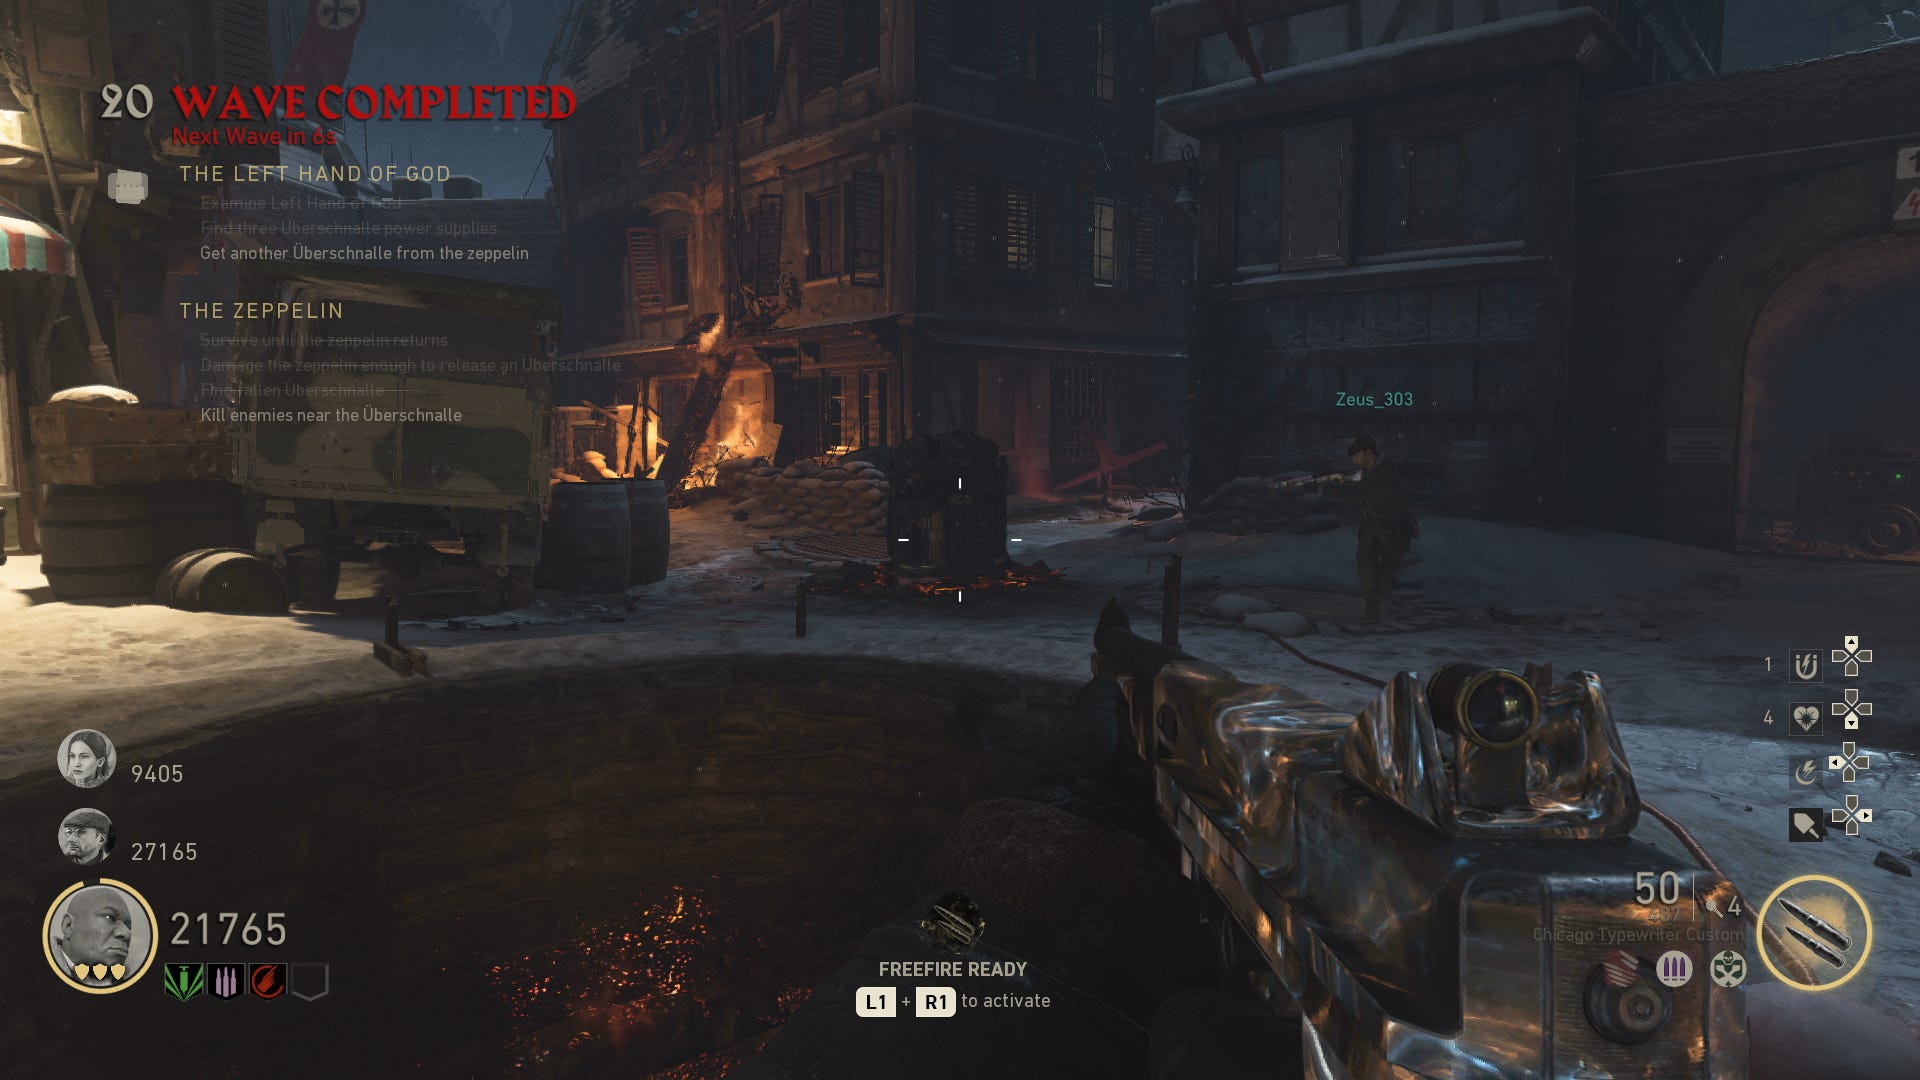
Roughly every five waves in Nazi Zombies, you'll be presented with some form of a boss enemy. We should note that this isn't a single round dedicated the one huge enemy, but instead there's a more powerful enemy included with the regular zombies.
These boss enemies start appearing more often than every five waves the further you progress, but all of them have clear weak points that you should target. For example, with the huge, lumbering zombies with cages around their limbs, you'll want to aim for the head. Alternatively, with the Bomber zombies that have canisters on their backs, you'll want to aim for the canister instead of the zombie.
You might have also seen another type of Nazi Zombie running around, usually without any arms, and much quicker than the regular zombies. These are called Pests, and while they won't appear until round 5 at the start of the game, they'll then turn up with the regular zombies after this in subsequent waves. They're easy to kill, but you'll need to be watching your surroundings at all times after you see the first Pest, as they rarely turn up alone.
If you are shooting at the part of a boss zombie that isn't its weak point, the usual white outline around your target reticle will be slightly grayed out, signifying that you're causing reduced damage to the boss zombie.
Just below, we've got our own video guide for the CoD WW2 Nazi Zombies mode, as we make it a fair few rounds in our first attempt at playing the mode. As you can probably tell just from watching the video, everyone's very much in panic mode in Nazi Zombies since we're still at the launch of the game, and as such, there's very little team effort.

CoD WW2 Zombies Best Weapons
This is all based entirely on personal preference, but we've rounded up some of the best weapons you can obtain in Nazi Zombies, including their strengths and benefits with each.
- MG 42 - While slow to reload, this heavy weapon boasts fantastic damage to base zombies, even in the later waves as the zombies themselves grow tougher.
- BAR - You'll always want a weapon that fires and reloads fairly quickly, while putting out solid damage, and the BAR is a great option for this.
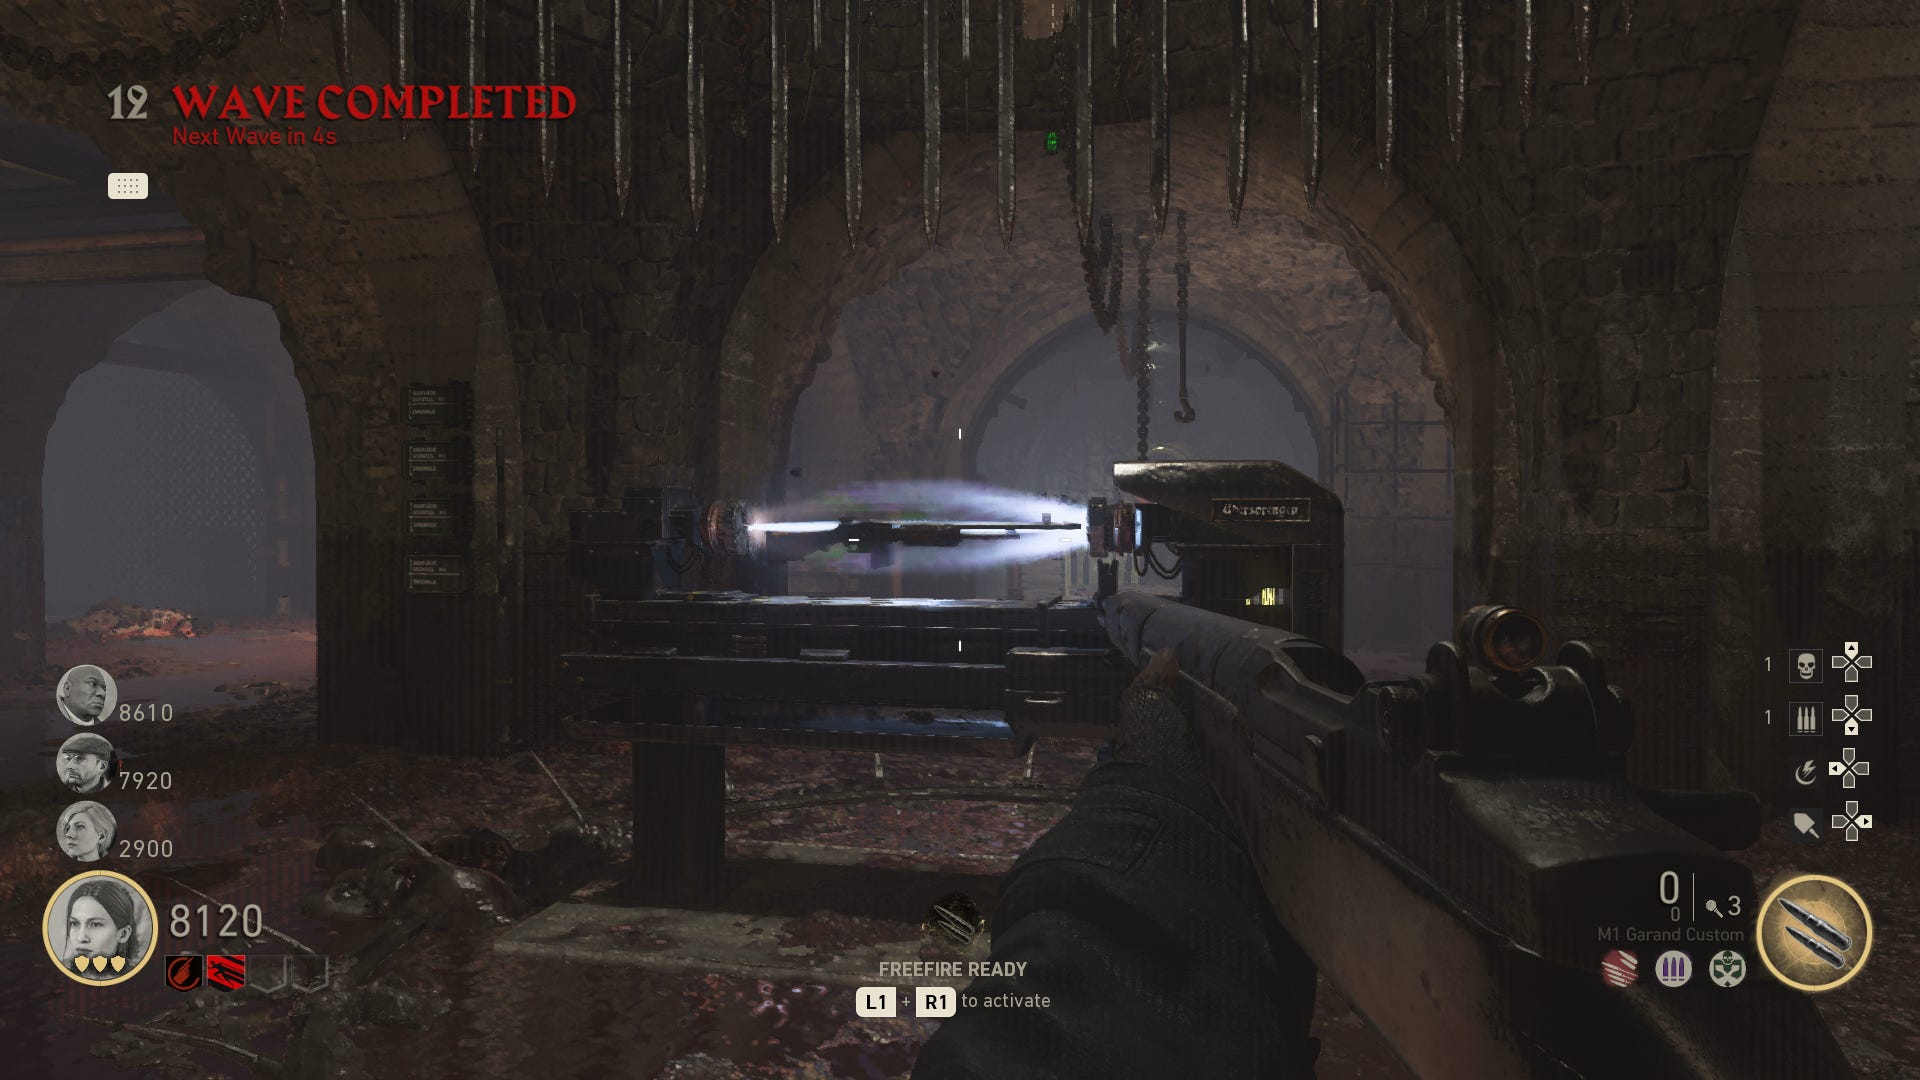
- M1 Garand - The Garand might be slow firing, but it deals excellent damage to the base zombies, especially if you manage to land a headshot.
- Type 100 - It might not deal great damage, but the Type 100 is one of the quickest firing weapons in the game, and you can always head back to the starting area if you need to pick up more ammo.
- MP 40 - This sub-machine gun doesn't sacrifice speed for power, boasting both in fairly solid statistics.
We'd also recommend staying away from weapons like Bazookas in Nazi Zombies. They may look appealing with their massive firepower and blast radius, but you're quickly going to get swarmed with zombies in the later round, and you won't want a weapon that takes ages to reload, and only carries a few rounds.
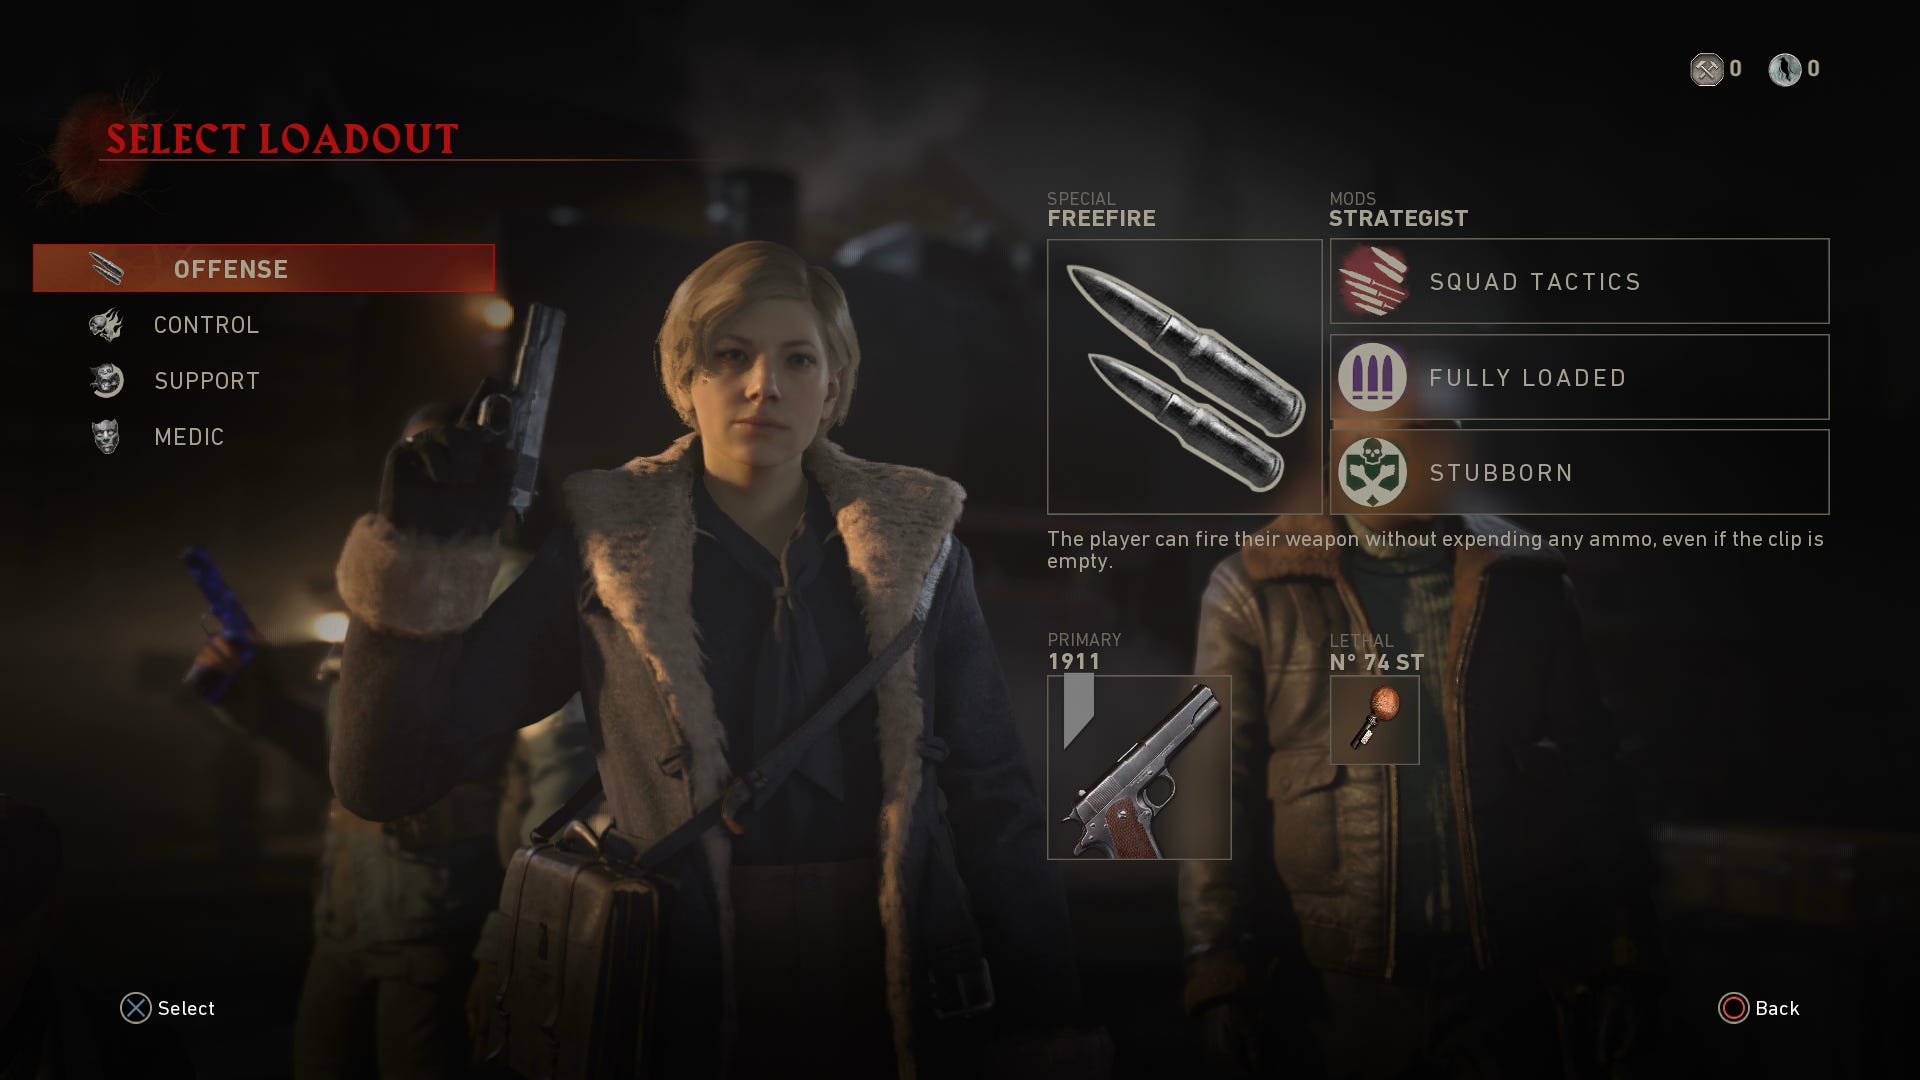
Don't forget that you can also upgrade your weapons in Nazi Zombies, before you even head into a game. Scroll over to the loadout tab before you enter a game, and you can attach various scopes, grips, and other items earned through playing to your various weapons. We've also noted that some Supply Crates in Headquarters will occasionally drop Nazi Zombies items, including weapon sprays and attachments, so make sure to keep an eye out for these.
CoD WW2 Zombies - How to Find Dr. Straub
In the Final Reich map for Nazi Zombies, there's an achievement/trophy called Lurking Around, and to get this, you'll have to find a shoot Dr. Straub. We're not entirely sure who Dr. Straub is, or what significance he holds in Nazi Zombies, but all you have to do to get the Lurking Around trophy is to shoot him whenever you see him.

So, where can you find Dr. Straub in the Final Reich? It turns out that the elusive scientist is basically never guaranteed to be in one specific location at any point, although we have rounded up the most common locations for him to appear in, just below:
- In the second, larger area with the fire trap, he can be in the window just after the road leading off to the left.
- He can appear in either the Command room, or the Morgue at any point after they are unlocked.
- Straub can be found near the operating table in the Morgue.
- He can be found in the laboratory area, in a fairly early round.
- Some have reported seeing him through the gate near the sewers, as well as within the actual sewers.
- Straub has been seen near both the switches needed to open up the Salt Mines.
CoD WW2 Zombies - How to get the Tesla Gun
Finally in our CoD WW2 Nazi Zombies guide, we'll be walking you through exactly how to build the Tesla Gun, the ultimate weapon of mayhem and destruction in the zombies mode. Firstly, you'll need to fuel the generator, which is done by turning the valves on three different tanks. To find the valves, you'll have to go from the generator in the second area of the Final Reich, and trace all the hoses back to the three generators. Be warned though that turning the valves can take some time, so you'll want to have your teammates watching your back.
After the generator is fueled, head right to the middle of the area where the fire trap is, and activate it. This will clear out the sewer area completely, and although you will be forced to deal with several Pests that rush your team, you'll then be able to finally turn on the generator.
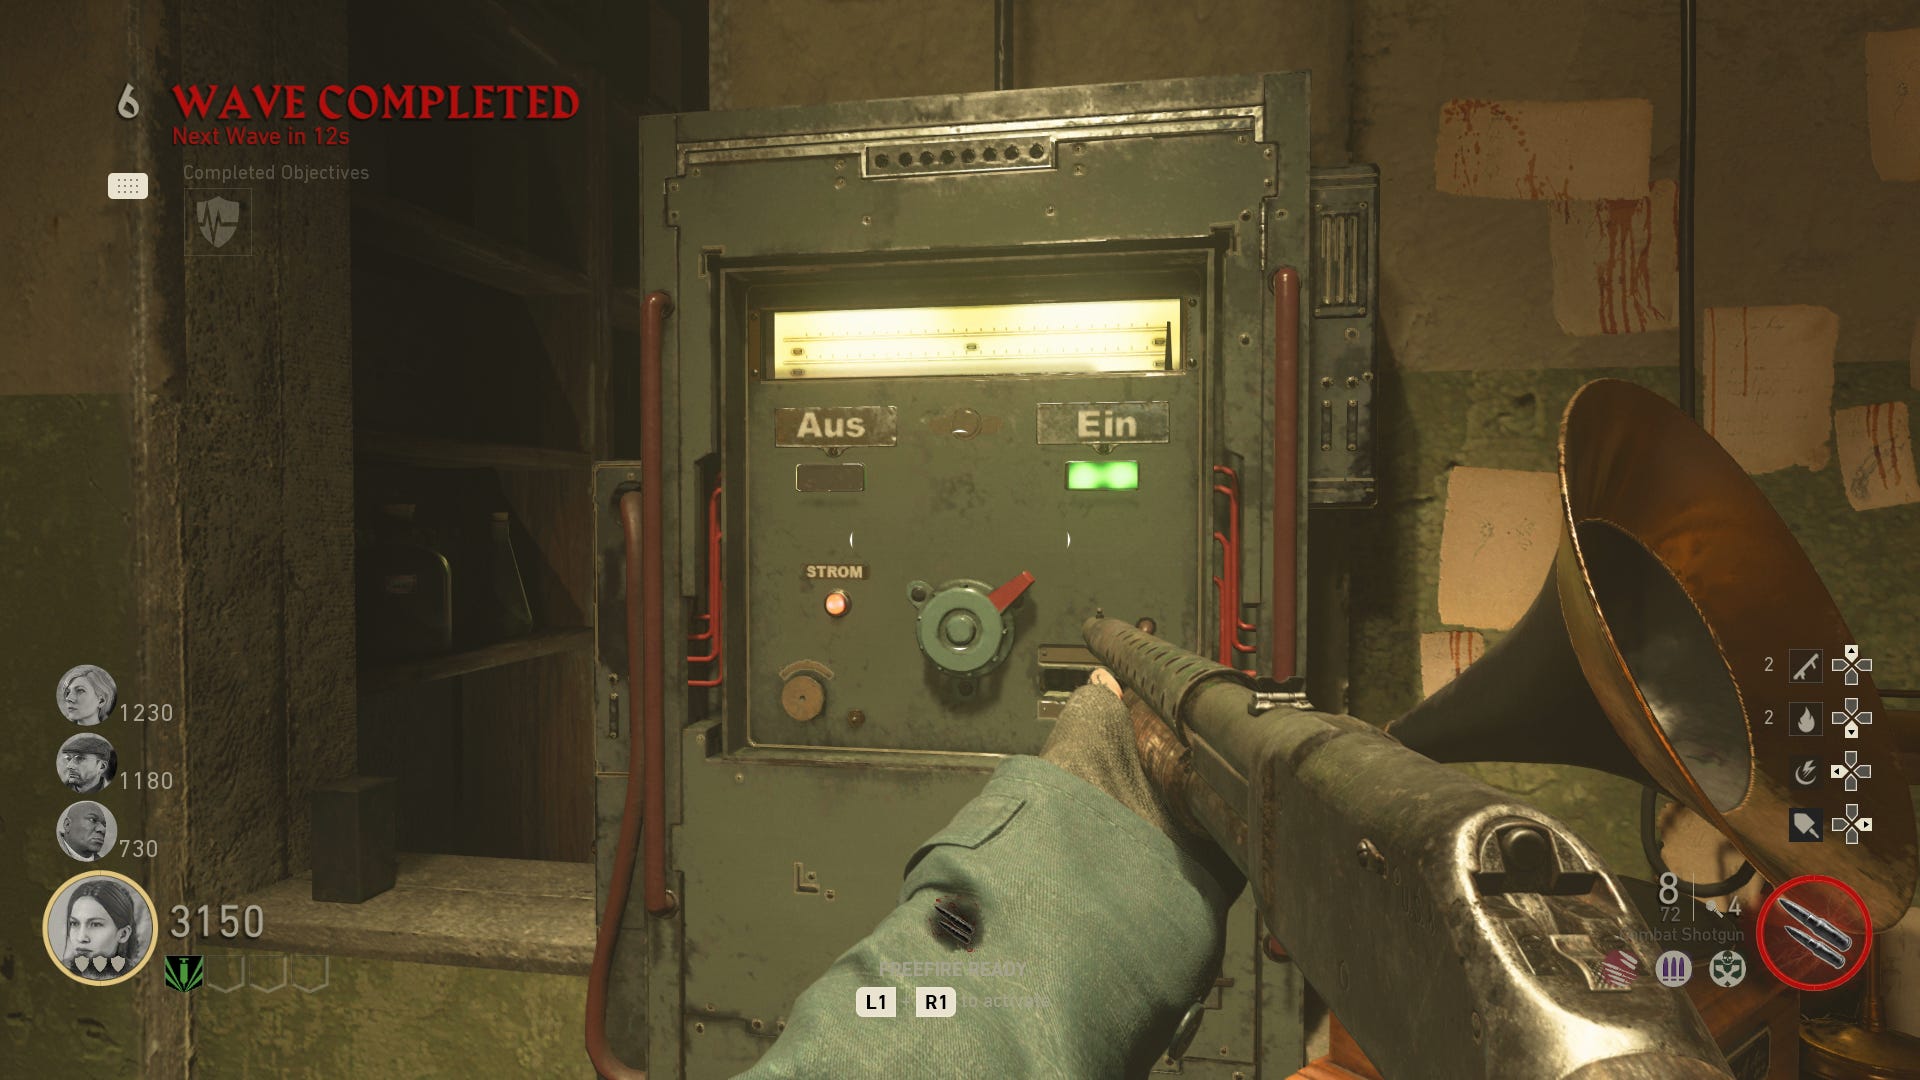
Now head straight into the bunker area, and activate the crank in the middle of the bunker, causing a pit in the floor to open up. After this, head into the morgue area, and activate a level on a device on the wall, with the labels 'Aus' and 'Ein' on. However, once you've activated this device, you'll actually have to quickly run to the other end of the morgue, and flip the switch on a second device. Thankfully the two devices look identical, so you shouldn't have too much trouble finding them.
Your entire team will now have to head down into the Salt Mines, and once you've reached the very bottom area complete with cult-like decor, activate the strange machine and kill all the zombies that enter the red area. When the orange smoke eventually envelops the area, you'll know it's time to leave and head back upstairs to the bunker.
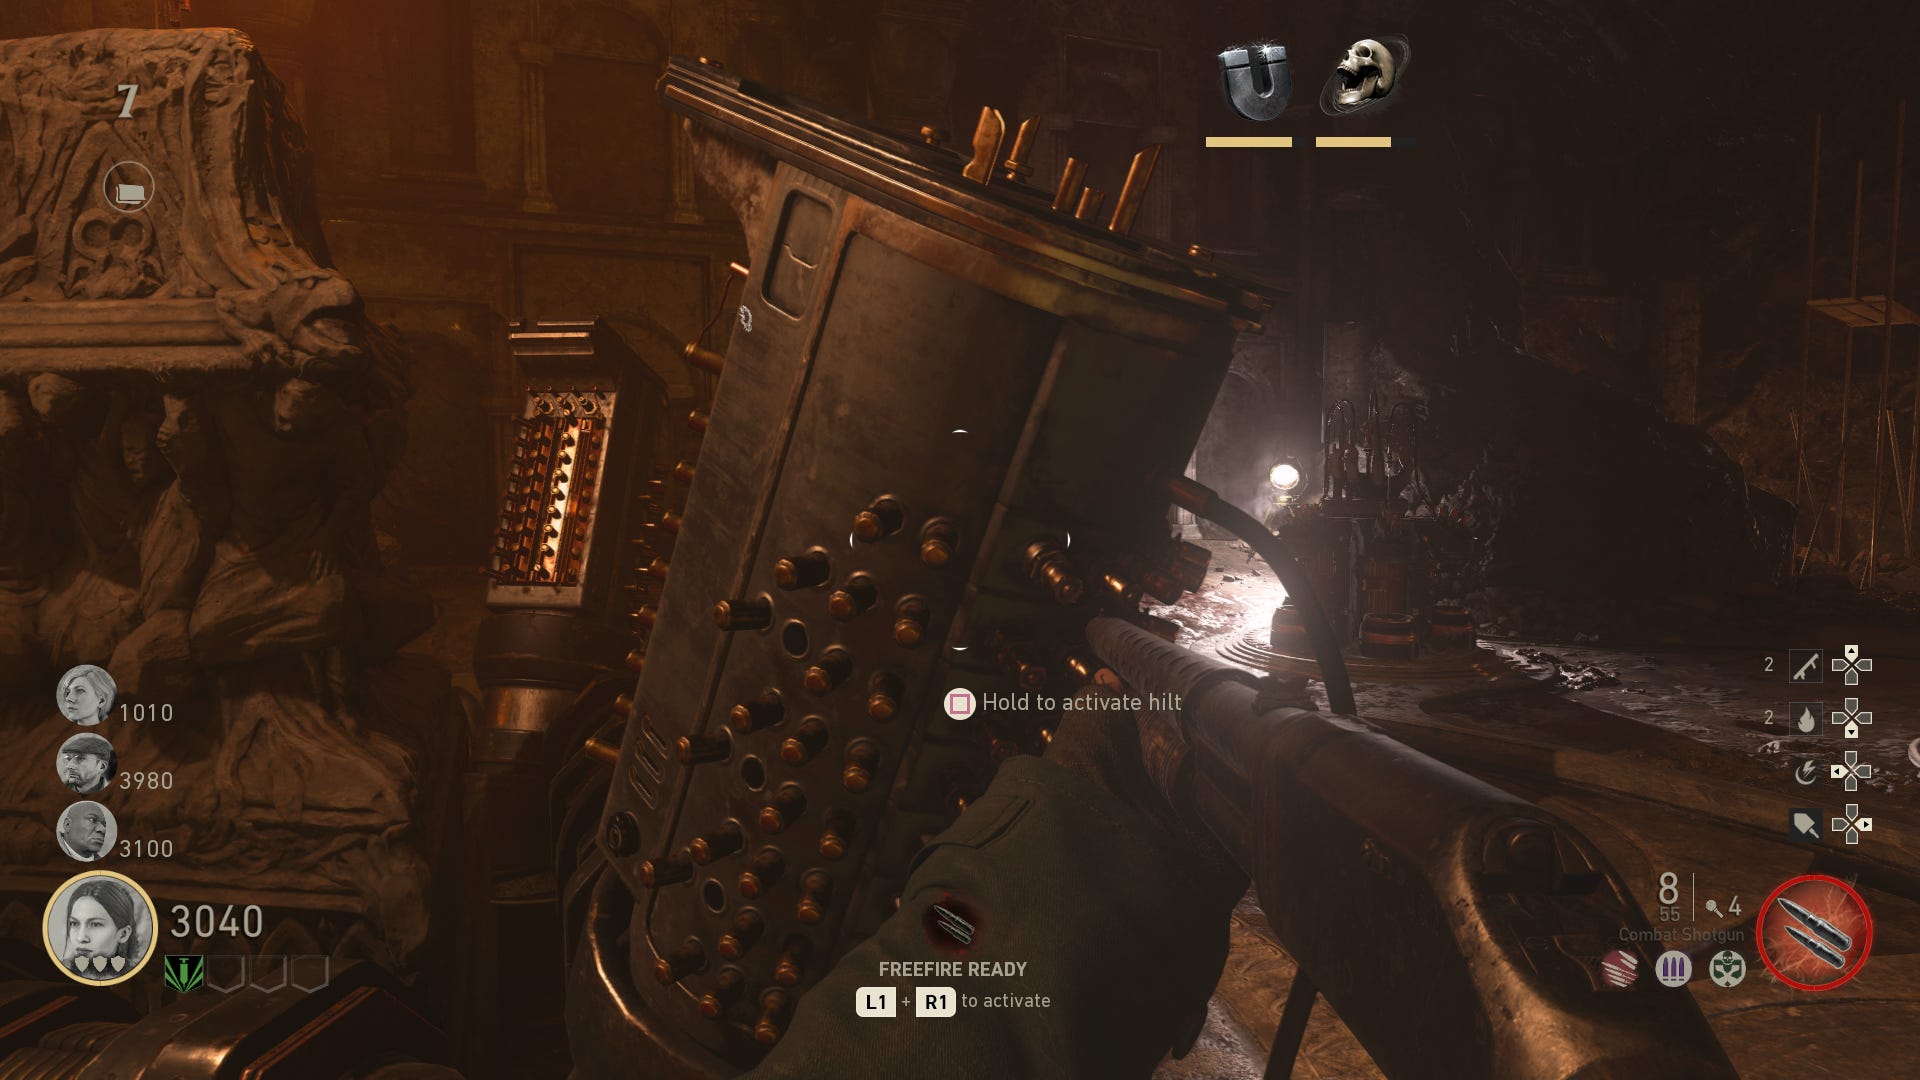
You'll now have to activate the main Geiskraft device, and this can be achieved by pushing the red button at the very top of the bunker area. Once activated, the Geiskraft device will either go into the laboratory area, or the morgue, and your team will have to follow it, killing all the zombies that come after you along the way.
When the Geiskraft device has reached its destination in either the laboratory or the morgue, you'll have to wait until it constructs the Tesla Gun part, and then pick up the part, heading back up to the main bunker area. We've got some bad news for you now, as you'll unfortunately have to do the entire process over again, to collect the second part of the Tesla Gun.
Once you've repeated the entire process with the Geiskraft device, and obtained the second piece of the Tesla Gun, you'll now have to head back to the large round table object in the center of the bunker, and activate it. Doing this will give your entire party a Tesla Gun each, meaning you can fight your way through many more Nazi Zombies waves yet.
In case you need a demonstration of how to get the Tesla Gun in the Nazi Zombies mode of Call of Duty: WW2, check out our complete play through of the mode just below:

CoD WW2 Zombies - How to Defeat the Panzermorder Boss
There's a secret, final boss for the Nazi Zombies mode in Call of Duty: WW2, which your entire team will have to band together to unlock. To find out how to defeat this special boss, as well as all the steps you'll need to take in order to unlock the massive showdown, head over to our CoD WW2 Panzermorder boss guide.
These are all the tips and tricks we've assembled right now, but head over to our Operation Shamrock and Awe event guide for all you need to know about the latest Community Event for Call of Duty: WW2.